Post-Construction Chaos? Your Ultimate Singapore Cleanup Checklist
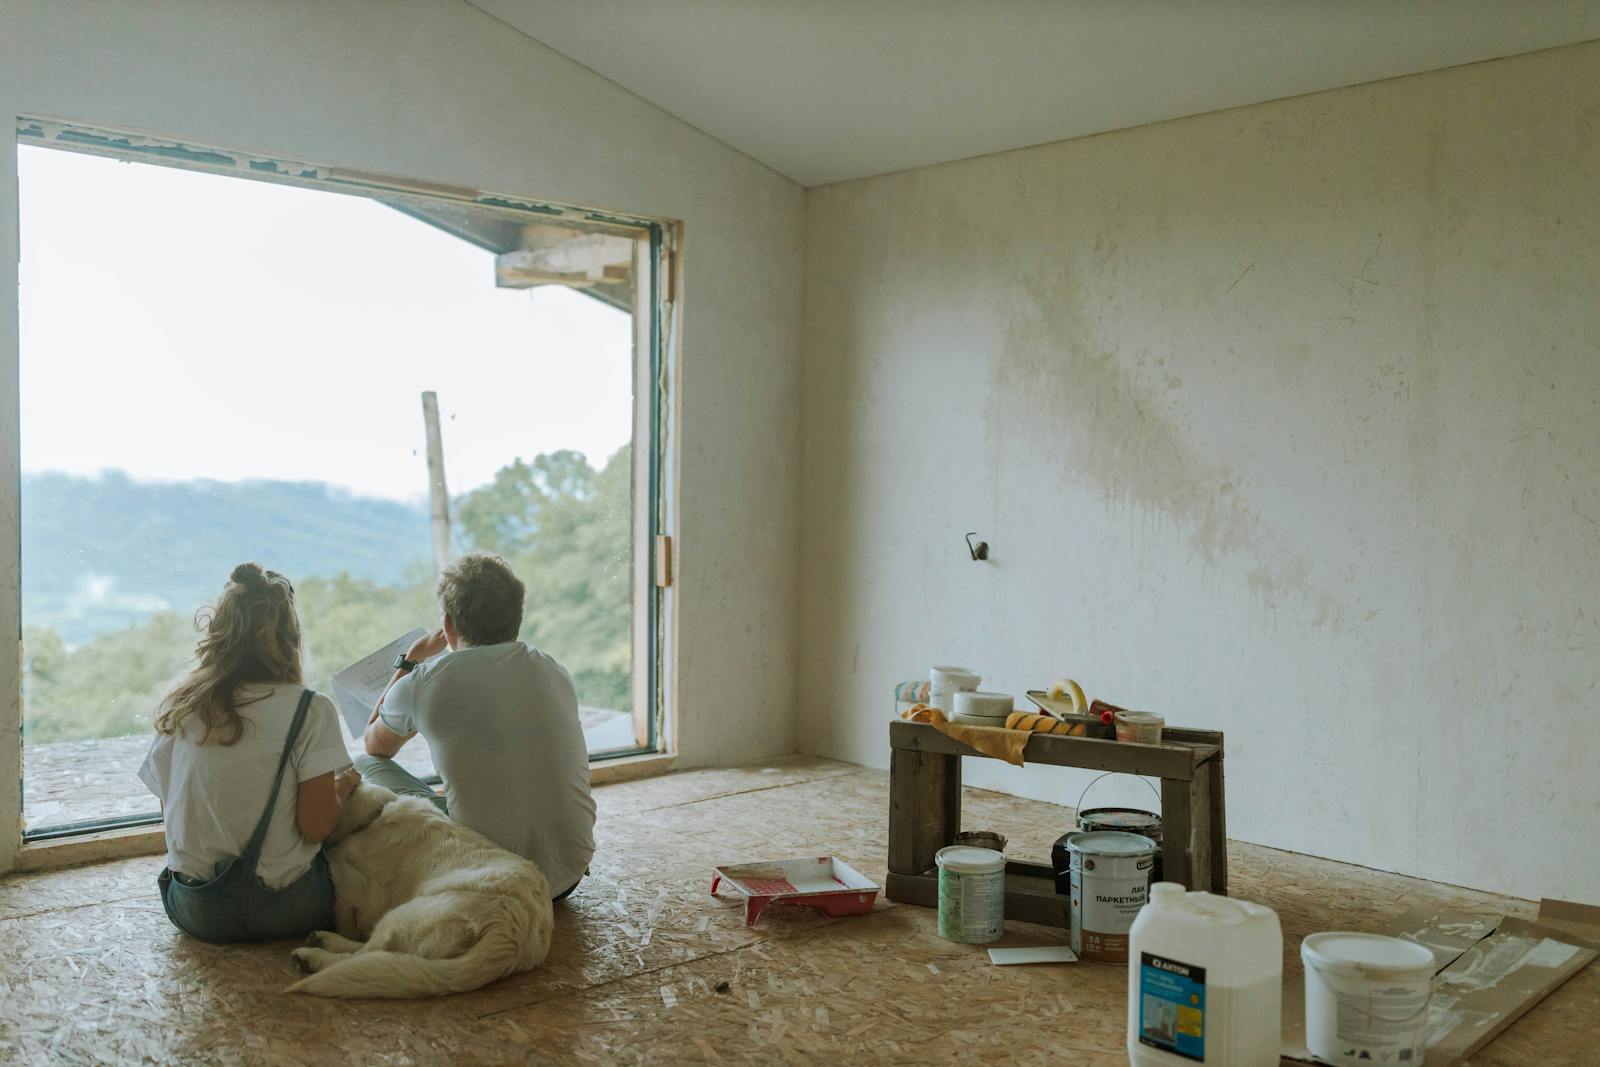
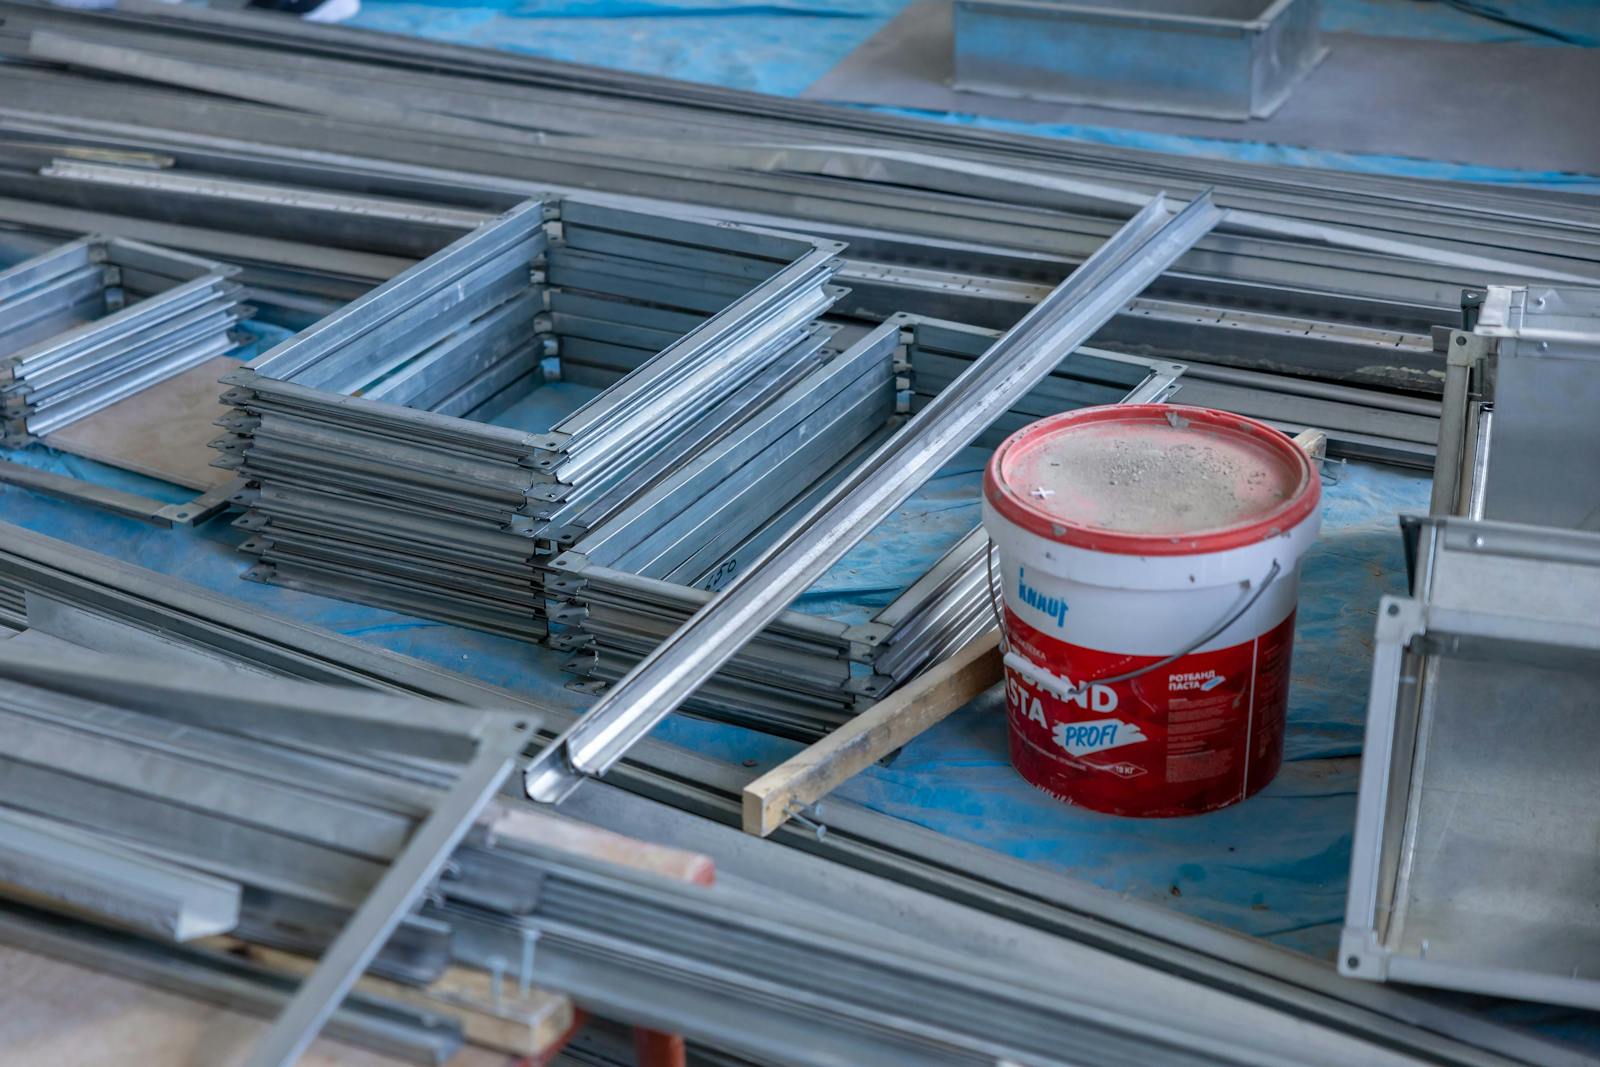
Renovation contractors sweep up the big mess and leave. What stays behind is the hard part: fine cement and plaster dust inside every cabinet, grout haze on new tiles, paint overspray on window frames, and adhesive from protective film that gets tougher to remove every week you leave it.
This checklist takes you through the cleanup in six phases, in the order that actually works — debris first, high dust before surfaces, floors before detail work, air quality last. Follow the sequence and you clean each area once. Skip around and you’ll watch dust resettle on surfaces you’ve already wiped.
If you’d rather hand the whole job over, MCAAS Solutions’ post-renovation cleaning service starts from $248 and covers everything below, ending with a final inspection before the team leaves. Otherwise, print this list and work through it phase by phase.
Who this checklist is for
- Homeowners who have just finished an HDB, condo or landed renovation and want to do the cleanup themselves
- Anyone splitting the work — doing part of it DIY and hiring out the rest
- Homeowners hiring a cleaning company who want a reference list to check the job against
Before you start
Three rules that apply to every phase:
- Work top-down. Ceilings before walls, walls before floors. Dust falls; never clean anything below something you haven’t cleaned yet.
- Keep the aircon off until Phase 2 is done. Running it early pulls fine dust into the fan coil and recirculates it through every room — you end up re-cleaning surfaces and paying for an aircon service you could have avoided.
- Wear an N95 mask and gloves for the first two phases. Renovation dust from cutting tile, concrete and drywall contains silica, which you should not be breathing in concentrated amounts.
The six-phase post-renovation cleaning checklist
Phase 1: Debris and rubbish removal
Get everything that isn’t part of the home out of the home.
- Collect leftover materials: tile offcuts, timber scraps, cable trunking, cement bags, packaging
- Put nails, screws and broken glass into a rigid container, not a rubbish bag
- Confirm with your contractor what stays behind (spare tiles, leftover paint for touch-ups) and store it in one labelled box
- Lift corrugated board and floor protection sheets — dust and grit collect underneath
- Peel protective film off appliances, doors, window frames and glass now; the adhesive hardens over time
- Clear the balcony, service yard and corridor of construction waste
- Arrange bulky waste disposal through your town council or condo management — don’t leave it at the lift lobby
Phase 2: High dust removal
The single most important phase. Fine renovation dust settles on every horizontal edge above eye level, and every one you miss will shed onto your clean surfaces later. (For why this dust behaves differently from household dust — and why it keeps coming back — see our guide to the dust layers renovation crews leave behind.)
- Ceilings, cornices and ceiling roses
- Light fittings and fan blades
- Tops of wardrobes, kitchen cabinets and door frames
- Curtain rails and window ledges
- Aircon vents and return-air grilles (wipe the grilles; leave the filters for Phase 6)
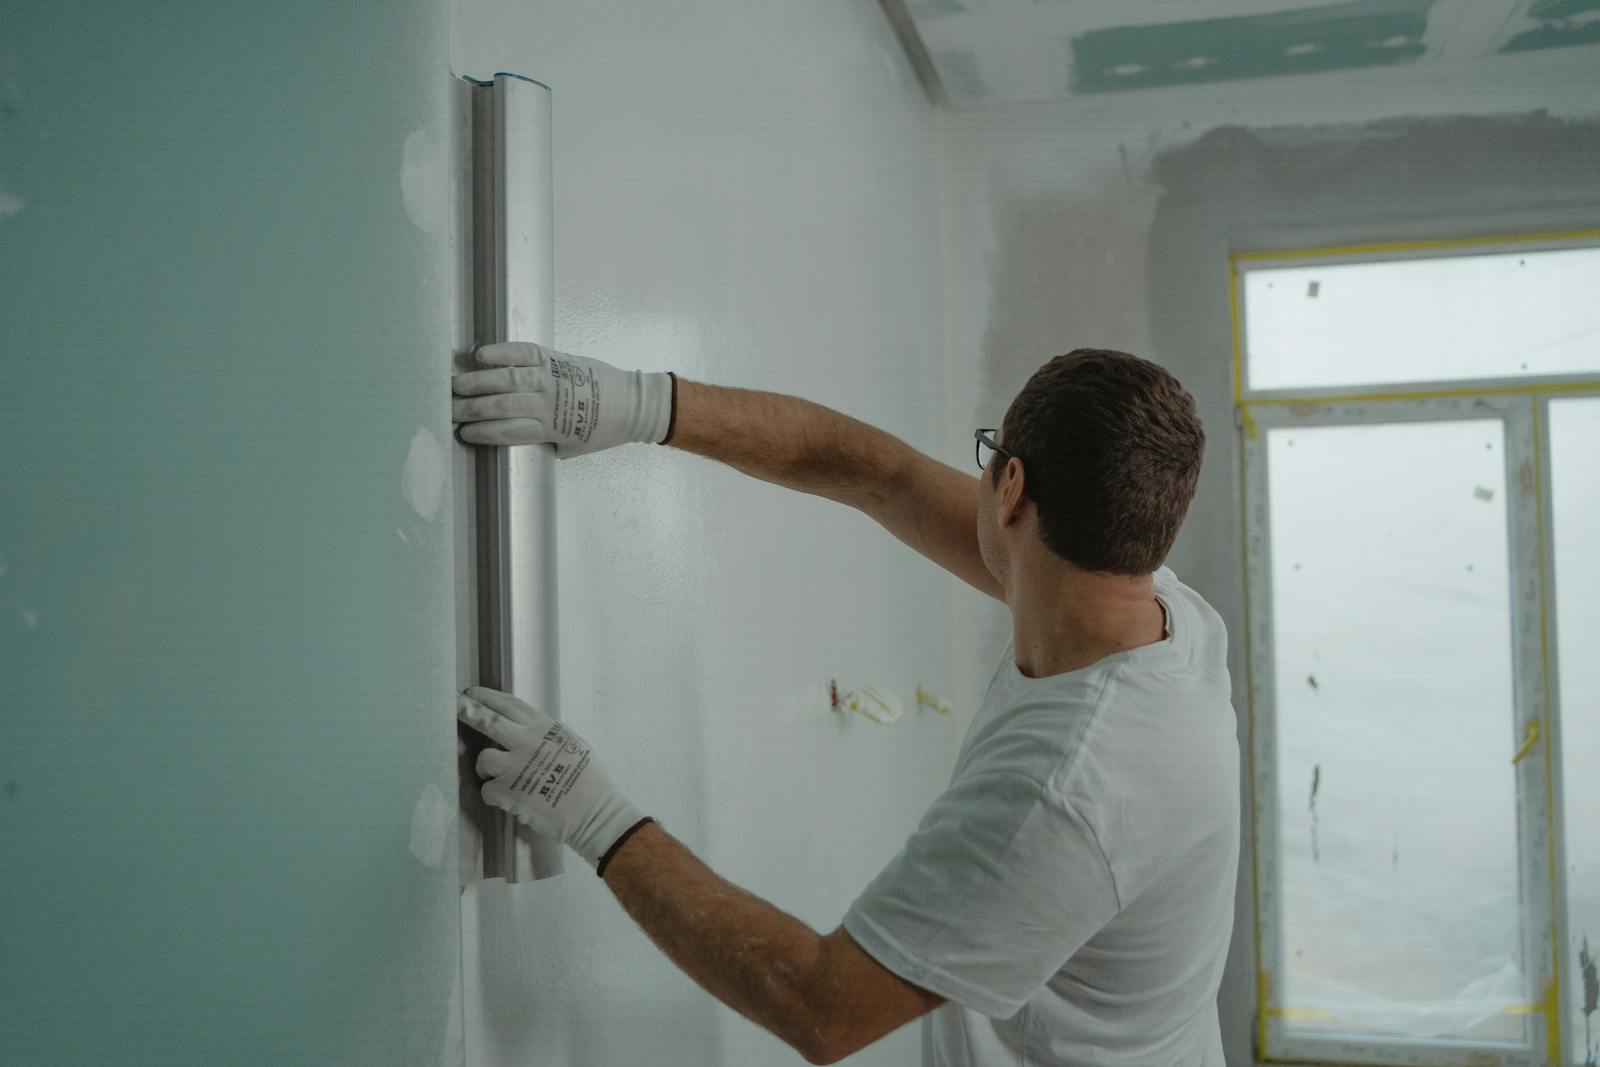
- Walls, worked top to bottom with a dry microfibre flat mop
- Door tops, then door faces and frames
Use a vacuum with a HEPA filter if you have one. A standard household vacuum captures the grit but blows the finest particles straight back into the air behind you.
Phase 3: Surfaces, carpentry and glass
- Vacuum inside every drawer, shelf and cabinet, then wipe with a damp microfibre cloth
- Leave new carpentry doors and drawers open afterwards — fresh laminates and plywood off-gas formaldehyde, and airflow helps
- Wipe countertops, then switches and sockets (dry cloth only)
- Remove paint specks from glass and frames with a plastic scraper — never a metal blade on glass or aluminium
- Vacuum window tracks first, then wipe; grit turns to mud if you go in wet
- Clean glass, mirrors and window grilles; remove sticker and tape residue while you’re there
- Wipe down all handles, knobs and railings
Phase 4: Floors
- Vacuum every floor before any mop touches it — wet-mopping fine dust just smears it into a film
- Mop with a cleaner suited to the floor: neutral-pH for vinyl and stone, a barely-damp mop for timber
- Rinse the mop and change the water frequently; grey water redeposits dust
- Wipe skirting boards as you go around each room
- Check tiled areas for grout haze and cement splashes. Light haze may come off with scrubbing; hardened cement residue usually needs a professional acid wash — the chemicals involved etch tiles and burn skin if handled wrongly, so this is not a DIY job
- Expect to mop twice. The first pass lifts the film; the second actually cleans
Phase 5: Detail cleaning, room by room
With dust and floors handled, work through each room to a finished standard.
Kitchen
- Degrease the hob, hood and backsplash if any were reused from before the reno
- Wipe inside and on top of all cabinets again — kitchens collect the most carpentry dust
- Scrub the sink and run water through the trap to flush out dust sludge
- Pull out and clean behind the fridge and washing machine positions before the appliances go in
Bathrooms
- Scrub wall and floor tiles and grout lines
- Remove cement or silicone smears from the shower screen and fittings
- Disinfect the WC, basin and shower area
- Lift and clean the floor trap — it’s usually full of renovation debris
- Polish taps and fittings
Bedrooms and living areas
- Wipe wardrobe interiors a second time and leave doors open
- Clean behind and under any built-in furniture with clearance
- Final wipe of window tracks, sills and ledges
Service yard and balcony
- Sweep and wash the floor
- Clear the drainage point of grit and debris
- Wipe the washing machine area and any external shelving
Phase 6: Air quality and final inspection
- Wash or replace aircon filters, then run the aircon — if the renovation was heavy, book a proper aircon servicing instead
- Ventilate daily with windows open and fans running. New carpentry and furniture off-gas formaldehyde for an extended period, and ventilation helps but works slowly — don’t expect the “new renovation smell” to vanish in a weekend
- Do a final walkthrough with this checklist: open every cabinet, look above every ledge, check under and behind everything
- Run a hand along a few high surfaces the next day. If it comes away grey, dust is still settling and Phase 2 areas need a second pass
Common mistakes to avoid
- Starting before the contractor is fully done. One returning worker drilling a single hole can re-dust an entire room.
- Running the aircon “to clear the air”. It does the opposite — it loads dust into the unit and redistributes it.
- Mopping before vacuuming. The most common reason floors look streaky and dull after cleanup.
- Using acids or harsh chemicals on unknown surfaces. Cement removers and acid washes can permanently etch homogeneous tiles and corrode fittings.
- Treating it as a one-pass job. Fine dust stays airborne for hours and resettles. Every professional crew plans for repeat passes; you should too.
When DIY is enough — and when to hire professionals
DIY is realistic when the renovation was small — one room repainted, a single carpentry installation — and you have a HEPA vacuum, time, and no urgent move-in date.
Hire professionals when:
- The whole home was renovated, especially with tiling, hacking or wall works (heavy silica dust)
- There’s hardened cement, grout haze or paint on floors and glass
- You’re on a deadline — keys handover, movers booked, or family moving in
- Dust keeps reappearing after cleaning, which usually means it’s sitting in the aircon system and high spots you can’t reach
- Anyone in the household has asthma or dust allergies
MCAAS Solutions is NEA Licensed and WSQ Course Certified. Teams arrive with all equipment and supplies — HEPA vacuums, PHMB and QAC-based disinfectants — apply an antimicrobial coating to high-contact areas like handles and switches, and run a final inspection against the job scope before leaving. Rated 4.9/5 from 370+ Google reviews.
Book your post-renovation cleaning
If this checklist looks like more weekends than you want to spend, let us handle it.
- WhatsApp us: wa.me/6588342867 — quotes usually within 2 minutes
- Call: +65 8834 2867 (Mon–Sat, 8:00 AM–5:00 PM)
- From $248 for post-renovation cleaning, transparent pricing, no hidden fees, no contracts
Send us your floor size and renovation scope, pick a slot, and the team arrives on time with everything needed. The job ends with a final inspection — you walk through the home with the team before they leave.
Frequently Asked Questions
How long does post-renovation cleaning take?
For a typical HDB flat or condo, a professional team takes roughly 6–8 hours. DIY usually spreads across several days, because fine dust resettles and high-dust areas need a second pass.
Should I clean before or after furniture is delivered?
Before, wherever possible. Empty rooms let you reach walls, floors and built-ins properly, and new furniture won’t sit in construction dust. Schedule cleaning after the contractor’s final touch-ups but before movers or deliveries arrive.
Do I need special equipment to do it myself?
A HEPA-filter vacuum, plenty of microfibre cloths, a flat mop for walls, a plastic scraper and an N95 mask cover most of the checklist. What DIY can’t easily replicate is safe removal of hardened cement and grout haze, which needs professional chemicals and handling.
What does professional post-renovation cleaning include?
The full sequence above: debris clearing, high dust removal, interior cabinet cleaning, windows and grilles, floor vacuuming and mopping, kitchen and bathroom detail cleaning, and disinfection of high-contact points, finished with an inspection. Stain removal on floors (cement, paint, grout) is assessed on site, as heavy residue may need a separate acid wash.
How much does it cost?
MCAAS post-renovation cleaning starts from $248, with the final quote based on floor area and renovation scope. WhatsApp a few details to +65 8834 2867 and you’ll usually have a quote within 2 minutes.