Post-Reno Cleaning: Avoid These Costly Mistakes in Singapore
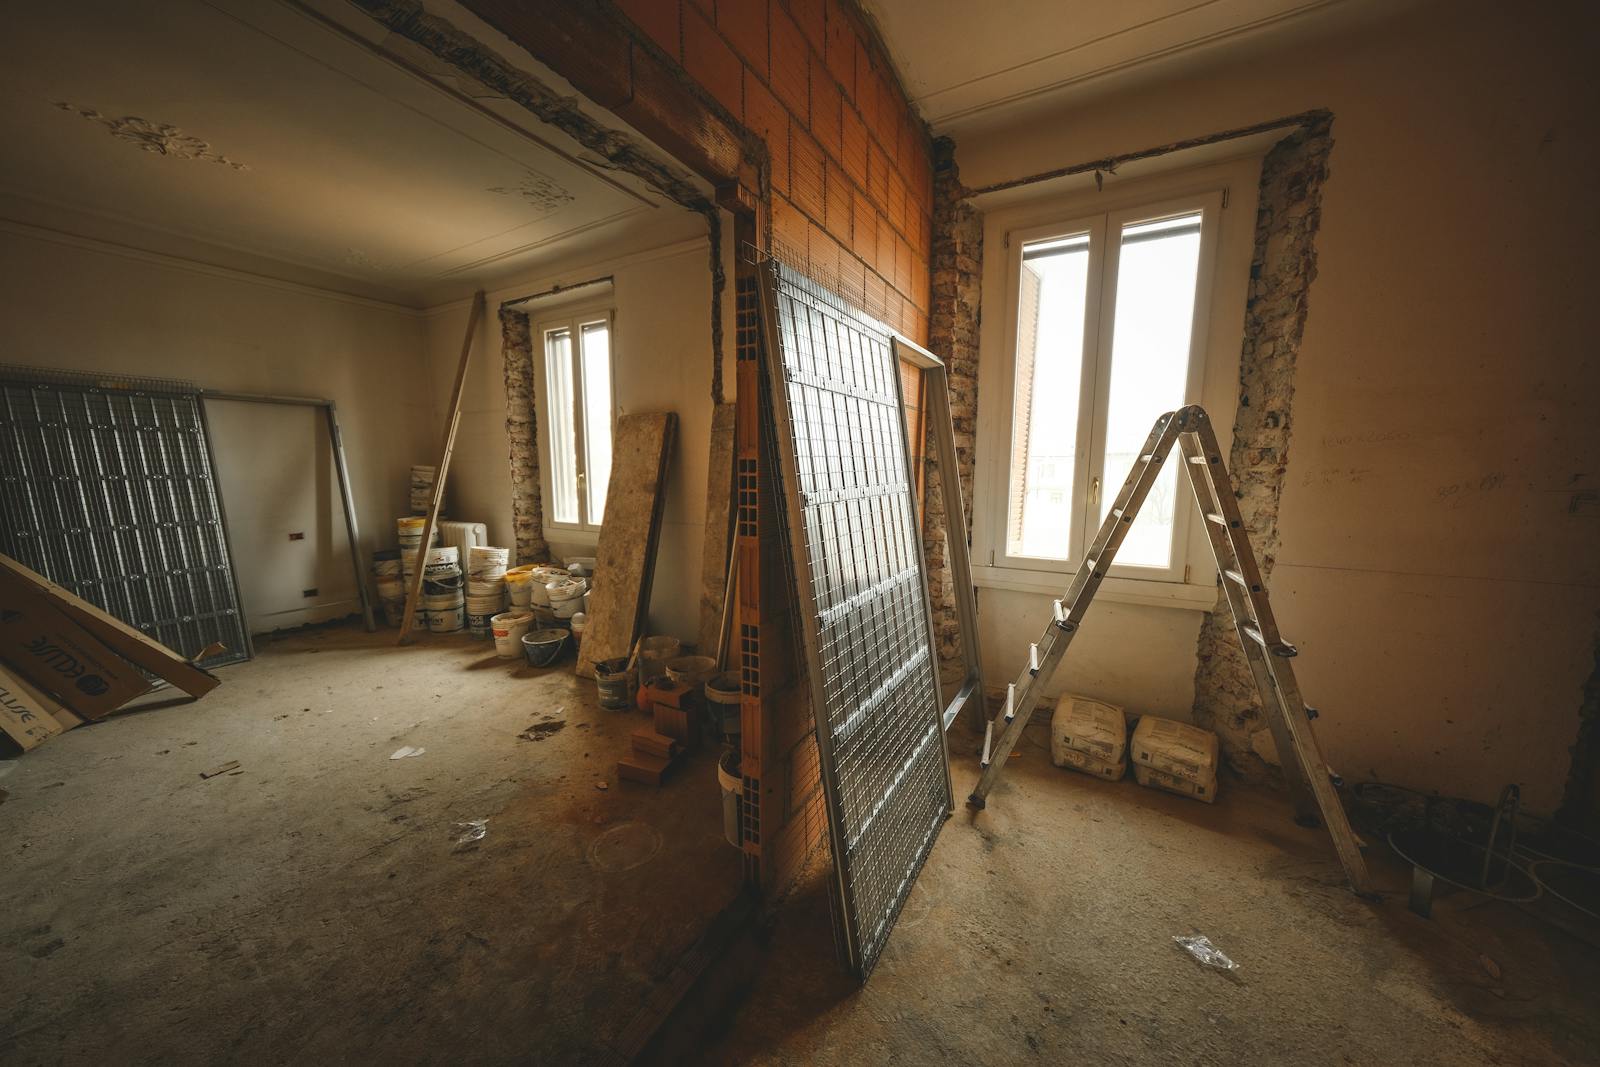
Most of the expensive damage in a newly renovated home doesn’t happen during the renovation. It happens in the week after — when fine cement dust gets ground into new vinyl, bleach etches a marble countertop, or the aircon sucks in a room full of plaster dust. This guide covers the twelve post-renovation cleaning mistakes we see most often in Singapore homes, and what to do instead. If you’d rather skip the risk entirely, MCAAS Solutions offers professional post-renovation cleaning from $248, with all equipment brought to site.
Who this guide is for
- Homeowners planning their own post-reno clean-up in an HDB flat, condo or landed home
- Anyone whose contractor’s “site clean” left behind haze, dust and paint specks (it almost always does)
- Homeowners weighing whether a professional clean is worth the fee
The 12 costly mistakes — and the correct approach for each
Mistake 1: Cleaning before the contractor’s final works are finished
The most common wasted effort of all. Homeowners start a full clean while touch-up painting, carpentry adjustments, silicone sealing or last-minute drilling are still outstanding. Every one of those jobs generates fresh dust, and the clean has to be repeated.
Correct approach: Walk through the home with your contractor and confirm all works — including defect rectifications — are complete before serious cleaning starts. Rough debris removal can happen earlier, but the detailed clean should be the very last trade in the flat. Our guide on when and in what order to clean after renovation covers the sequencing in detail.
Mistake 2: Dry-sweeping fine dust
Renovation dust is not household dust. Cement, plaster and silica particles are extremely fine and light — a broom doesn’t collect them, it launches them into the air, where they drift for hours and resettle on everything you’ve already wiped. Sweeping also drags gritty particles across new surfaces, scratching vinyl, timber and polished stone.
Correct approach: Vacuum first, with a machine that has a HEPA filter so fine dust is captured rather than blown back out the exhaust. Follow with damp microfibre cloths, rinsed frequently.
Mistake 3: Running the aircon before the dust is cleared
Switching on the aircon “to cool the place down while cleaning” is an expensive reflex. The unit draws in airborne renovation dust, loads it into the filters, coils and fan barrel, then redistributes it around the flat every time it runs afterwards. A brand-new renovation can end up needing a chemical aircon wash within weeks.
Correct approach: Keep aircon units off until vacuuming and dusting are done; ventilate with open windows and fans pointed outward instead. Once surfaces are clean, wash the filters and wipe the vents and grilles before the first proper run.
Mistake 4: Mopping before vacuuming
Water plus cement dust equals paste. Mopping a dusty floor smears that paste across the surface, works it into grout lines and the textured grain of vinyl and tiles, and leaves a grey film far harder to remove than the dry dust was.
Correct approach: Dust removal always comes before wet cleaning. Vacuum thoroughly — including edges and corners — then mop with a pH-neutral floor cleaner and minimal water, changing the water far more often than in a normal clean.
Mistake 5: Not sequencing top-down
Cleaning floors first, then wiping shelves and ceiling fans, means everything dislodged from above lands on your finished floor. With post-reno quantities of dust, whole rooms end up cleaned twice.
Correct approach: Work strictly from ceiling to floor in each room — fans and cornices, then light fittings and aircon exteriors, then walls and windows, then built-in carpentry, then skirting and finally floors. Finish one room fully before moving on, and clean towards the exit.
Mistake 6: Using the wrong chemicals on new surfaces
Desperation to remove cement haze, paint specks or adhesive leads people to reach for bleach, thinner or abrasive cream cleaners. On marble, quartz, natural stone and many vinyl and lacquered finishes, these cause permanent etching, dulling or discolouration — on surfaces you have just paid to install.
Correct approach: Match the chemical to the surface. pH-neutral cleaners are the safe default; acid-based haze removers belong only on acid-tolerant tiles, never on marble. Test on a hidden corner first, and lift paint specks with a plastic — not metal — scraper.
Mistake 7: Attacking grout haze without knowing what you’re dealing with
The cloudy film over new tiles and grout lines is cement residue, and water alone just moves it around. The opposite error is worse: strong acid at the wrong dilution, or left on too long, burns grout and etches tile surfaces — and the fumes are hazardous in an enclosed bathroom.
Correct approach: Light haze often responds to a purpose-made haze remover, a soft brush and thorough rinsing. Heavy cement residue may need a controlled acid wash — a job with real safety requirements around ventilation, dilution and neutralising, explained in our guide to acid washing tiles in Singapore.
Mistake 8: Skipping the insides of cabinets and wardrobes
Closed doors don’t keep renovation dust out. Fine particles settle inside new kitchen cabinets, wardrobes and drawers throughout the works — along with sawdust from the carpentry itself. Skip these and you’ll be unpacking clothes and crockery into dusty storage, then breathing that dust every time a door opens.
Correct approach: Vacuum every cabinet interior, then wipe with a damp microfibre cloth and mild cleaner. Do cabinet tops too — the dust layer up there is usually the thickest in the room, and it drifts down for weeks if left.
Mistake 9: Forgetting window tracks, grilles and other detail areas
Window tracks collect a dense mix of cement dust, silicone trimmings and debris; grilles and frames catch paint overspray. These detail areas — along with switch plates, door tops and service yards — separate a genuinely finished clean from one that looks fine until you slide a window open.
Correct approach: Vacuum tracks with a crevice tool, lift silicone and paint residue with a plastic scraper, and wipe grilles section by section. Work from a room-by-room list so nothing relies on memory.
Mistake 10: Treating it like a regular weekly clean
A post-renovation clean is a different job from routine housekeeping — different dust, different residues, different tools. One pass with a household vacuum and a mop will clog the vacuum’s filter, spread the fine dust, and leave residues untouched. This is the mindset error behind most of the mistakes above.
Correct approach: Plan it as a construction clean: HEPA vacuuming, surface-appropriate chemicals, detail work, repeated passes. For a typical flat, budget a full day rather than an afternoon.
Mistake 11: Careless debris and waste disposal
Renovation waste isn’t ordinary rubbish. Leftover nails, glass shards and broken tiles cause injuries during the clean; paint tins and solvents shouldn’t go down the chute, and dumping renovation debris improperly can attract fines.
Correct approach: Wear covered shoes and gloves for the debris stage, bag sharp waste separately, and confirm who hauls away bulky and chemical waste — normally your contractor.
Mistake 12: Assuming “it looks clean enough”
Fine renovation dust keeps settling for days after the visible mess is gone, and formaldehyde off-gassing from new carpentry isn’t visible at all. Homeowners who stop at “looks clean” often find a fresh grey film on surfaces a week after moving in — or keep smelling that “new renovation” odour for months.
Correct approach: Do a follow-up dusting pass a few days after the main clean, keep ventilating well before and after move-in, and wipe new carpentry interiors again once they’ve had time to air.
When DIY is enough — and when to hire professionals
DIY is realistic when the renovation was small (a single bathroom or a painting job), the dust is contained to one area, and there’s no cement haze, stone surface or heavy residue involved. With the sequencing above, a careful weekend gets you there.
Hire professionals when the works involved hacking, tiling or full carpentry; when you have marble, quartz or other delicate finishes; when haze or adhesive residue isn’t shifting; or when your move-in date leaves no room for a second attempt. A professional team compresses days of work into one visit — and avoids every mistake on this list by default.
Get it done right the first time
MCAAS Solutions is an NEA Licensed, WSQ Course Certified cleaning company with a 4.9/5 Google rating from over 370 reviews. Post-renovation cleaning starts from $248, with transparent pricing and no hidden fees or contracts.
Message us on WhatsApp or call +65 8834 2867 — quotes usually come back within 2 minutes. Our team arrives on time with all equipment, works through the home top-down with HEPA vacuuming and surface-safe chemicals, sanitises with PHMB and QAC-based disinfectants, applies antimicrobial coating to high-contact areas, and carries out a final inspection with you before leaving. We operate Monday to Saturday, 8:00 AM–5:00 PM.
Frequently Asked Questions
What is the most damaging post-renovation cleaning mistake?
Using the wrong chemicals on new surfaces. Dust mistakes cost you time; bleach on marble or a botched acid wash costs you the surface itself. When in doubt, use a pH-neutral cleaner and test in a hidden spot.
Can I just get my contractor to do the cleaning?
Contractors typically do a rough site clean — debris removal and a basic sweep. It isn’t a detailed clean: fine dust, haze, cabinet interiors and window tracks are almost always left behind. Treat it as stage one, not the finish.
Is it safe to sleep in the home right after cleaning?
Once fine dust has been properly removed with HEPA vacuuming and the home has been ventilated, yes. If new carpentry or furniture still smells strongly, keep ventilating and delay move-in where you can — that odour is off-gassing, not dust.
Do I really need a HEPA vacuum for renovation dust?
For fine cement and plaster dust, yes — basic vacuum filters let the smallest particles pass straight through the exhaust and back into the air. If buying one isn’t worthwhile for a one-off job, that’s a strong argument for hiring a team that brings industrial equipment.
How much does professional post-renovation cleaning cost in Singapore?
MCAAS Solutions’ post-renovation cleaning starts from $248, depending on the home’s size and condition, with transparent pricing and no hidden fees. WhatsApp +65 8834 2867 for a quote, usually within 2 minutes.