Post-Reno Floor Care: Protecting Singapore Surfaces
A broom leaves cement film on a new floor in Singapore. Vacuum it dry, then match the scrub to the surface. Post-reno floors are included from $248 on post renovation cleaning.
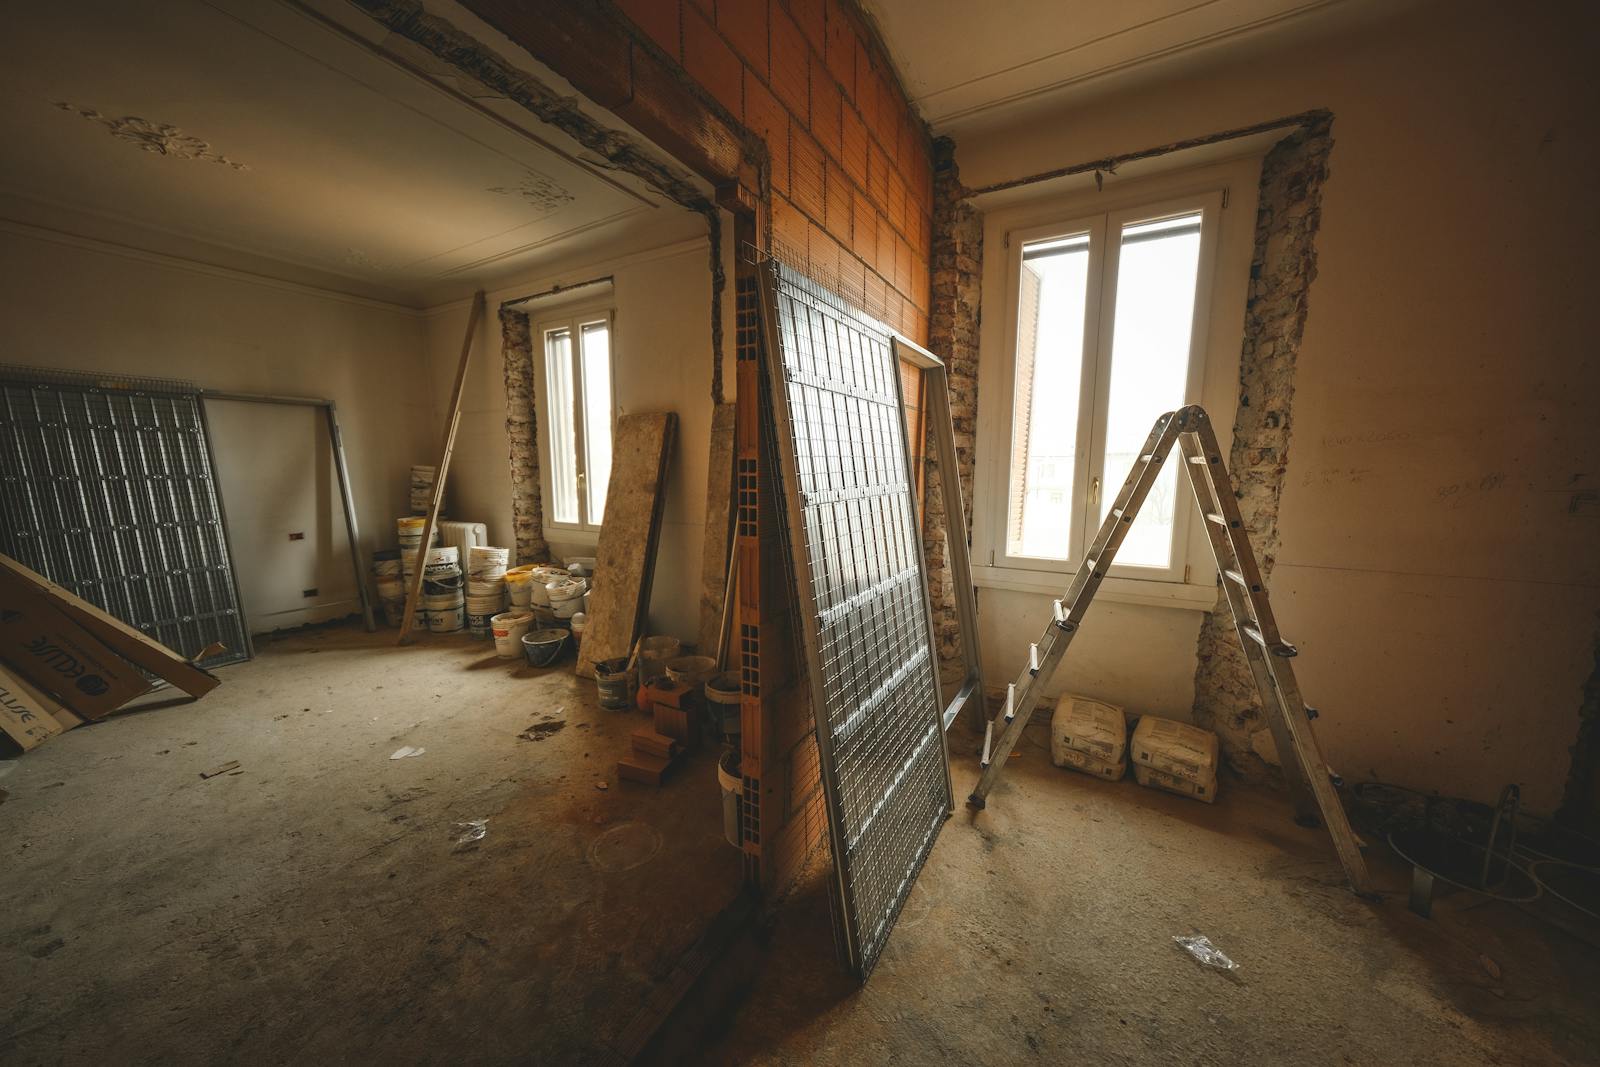
Renovation contractors sweep before handover, but a broom does nothing for what actually sits on a new floor: a film of fine cement and plaster dust, paint specks along the skirting, adhesive smudges where protection sheets were taped down. Deep scrubbing removes all of it, but only if you match the method to the floor, because the technique that restores porcelain tiles will destroy laminate. This guide covers assessing what’s on your floor, scrubbing each surface safely without acids, and what to avoid. If you’d rather have it handled, MCAAS Solutions includes floor deep scrubbing in every post-renovation cleaning service.
Who this guide is for
Homeowners who have just finished a renovation and want their floors properly clean before furniture goes in — new tiles that look hazy, timber or vinyl that sat under protection sheets, or natural stone you’re nervous about damaging. If your problem is specifically hardened cement or thick grout residue bonded to tiles, see our guide to acid washing tiles instead. Everything here uses non-acid methods: what most post-reno floors need, and the only safe option for stone, timber, vinyl and laminate.
Step 1: Assess what’s actually on the floor
Before any water touches the floor, work out what you’re removing. Get down at floor level with a torch held low — raking light reveals residue that’s invisible from standing height.
- Fine dust film. Cement, plaster and sanding dust settles as a grey film across the entire floor. It’s abrasive — dragging a wet mop through it grinds grit into the surface — so it must be vacuumed off dry first, always.
- Paint specks and overspray. Usually along skirting boards, door frames and edges where painters cut in. Emulsion softens with warm water; solvent-based paints need more care.
- Adhesive and tape residue. Sticky patches where floor protection was taped down, or smears of tile adhesive and silicone near wet areas.
- Plaster drips. White blobs from wall works — water-soluble but harder than they look. Never chip at them dry with metal tools.
- Grout haze. A dull, cloudy film on new tiles from grouting. Fresh haze usually comes off with scrubbing and a haze remover suited to the grout type; fully cured cement haze may need the acid-wash approach linked above, but try non-acid methods first.
Mark problem spots with painter’s tape so you can find them again once the dust is gone.
Step 2: Dry removal before wet cleaning
This step is non-negotiable for every floor type. Vacuum the entire floor slowly with a HEPA-filter vacuum and a hard-floor head (no beater bar — spinning brushes fling grit and scratch), doing edges and corners with the crevice tool. A vacuum without a HEPA filter blows the finest cement dust back into the air to resettle — why post-reno floors often look dusty again a day later. If dust has spread through the whole flat, our guide to the dust layers renovation crews leave behind covers the room-by-room sequence.
Then remove solid debris. Soften paint specks and plaster drips with a damp cloth laid over them for a few minutes, then lift with a plastic scraper at a low angle. Adhesive residue usually yields to a citrus-based remover — test it on a hidden spot first, especially on vinyl.
Step 3: Deep scrubbing by floor type
Porcelain and ceramic tiles
The most forgiving surface. Scrub with warm water and a pH-neutral floor cleaner using a stiff nylon brush or a white/red non-abrasive pad. Work in sections: let the solution sit briefly to loosen the film, scrub, then pick up the dirty water with a wet vacuum or well-wrung mop — don’t let it dry back on, or the haze returns. Grout lines need a separate pass with a grout brush, since they sit lower than the tile face and a flat pad skips over them. Textured or matt tiles trap dust in their profile and may need two or three passes.
Vinyl and LVT
Vinyl scratches and dulls easily. Use a pH-neutral cleaner, warm (not hot) water and a soft brush or white pad only. Never use solvents like acetone or lacquer thinner on adhesive spots — they soften the wear layer permanently — and keep water minimal near the joints of click-lock LVT.
Timber and laminate
The rule here is damp, never wet. Vacuum thoroughly, then wipe with a microfibre flat mop wrung out until barely damp, using a cleaner made for sealed timber or laminate. Standing water swells timber and blows the fibreboard core of laminate — permanent damage that shows up as lifted edges and cupped boards weeks later. No steam mops, ever. For paint specks on sealed timber, soften with a damp cloth and lift with a plastic scraper; a tiny amount of mineral spirits can help with stubborn spots, but test in a wardrobe corner first.
Natural stone (marble, granite, terrazzo, limestone)
Stone is where non-acid discipline matters most. Marble, limestone and terrazzo etch on contact with anything acidic — including vinegar, which many DIY guides wrongly recommend. Use only a pH-neutral stone cleaner, soft pads and soft brushes; never scrape polished stone with anything harder than plastic, and skip abrasive powders entirely. If cement residue is bonded to stone, do not attempt an acid wash — even diluted acid permanently dulls a polished marble surface. That’s a job for a stone restoration professional.
Machine scrubbing vs hand scrubbing
Professional teams use single-disc rotary scrubbers or compact auto-scrubbers on tiled floors because they do two things hand mopping can’t: consistent pad pressure, and immediate recovery of the dirty solution so residue doesn’t dry back on. For a whole flat of tiles, machine scrubbing is faster and visibly more even.
But machines are not universal. Pad choice decides everything — a soft brush or red pad deep cleans tiles, while an aggressive black stripping pad on the same machine will scour vinyl and dull polished stone in seconds. Timber and laminate should never see a rotary scrubber at all. Hand scrubbing remains right for edges, corners, grout lines, stairs, and every moisture-sensitive surface. MCAAS crews match machine and pad to each surface during the walkthrough rather than running one setup through the whole home.
What ruins post-reno floors
- Mopping before vacuuming. Wet grit is sandpaper — this single mistake causes most fine scratching on new tiles.
- The wrong pad or brush. Green and black pads, steel wool and abrasive powders belong nowhere near vinyl, stone or timber. When in doubt, use the softest option and repeat passes.
- Over-wetting timber and laminate. Swollen boards and lifted edges cannot be fixed by drying — only by replacement.
- Acid or vinegar on stone and grout. Etched marble needs mechanical re-polishing to recover; acid also eats cement grout.
- Metal scrapers and blades. They gouge every surface softer than glass. Plastic scrapers and patience do the same job safely.
- Letting dirty solution dry on the floor. It redeposits the film you just loosened — always rinse or vacuum it up while wet.
Ongoing protection after the deep scrub
Fit felt pads under every piece of furniture before it’s moved in — dragging legs across a freshly cleaned floor on day one undoes everything. Use walk-off mats at the entrance for the first few weeks, because renovation dust keeps tracking in from corridors and lift lobbies. Stick to pH-neutral cleaners for routine mopping; harsh all-purpose cleaners strip finishes over time. For natural stone and cement grout, ask your contractor whether sealing was done — sealed grout resists staining and is far easier to keep clean.
When DIY is enough vs when to hire professionals
DIY is realistic when you have one forgiving floor type (tiles or vinyl), light residue, and time for the vacuum–soften–scrape–scrub–rinse sequence done properly. Hire professionals when there’s heavy residue across a whole unit, mixed floor types with different rules, natural stone you can’t afford to damage, or hardened cement haze that scrubbing won’t shift. A botched scrub on marble or laminate costs far more to repair than a professional clean costs to book.
Get your floors professionally deep scrubbed
MCAAS Solutions is an NEA-licensed, WSQ-certified cleaning company with a 4.9/5 Google rating from over 370 reviews. Floor deep scrubbing is part of our post-renovation cleaning, from $248 with no hidden fees and no contracts. WhatsApp us with your floor types and unit size — quotes usually come back within 2 minutes — or call +65 8834 2867 (Mon–Sat, 8am–5pm). The team arrives with all machines, pads and surface-appropriate cleaners, works through each floor type with the right method, and does a final inspection with you before leaving.
Frequently Asked Questions
Why do my new tiles still look hazy after mopping several times?
Mopping spreads the fine cement and grout film around instead of removing it, and the residue dries back on as the water evaporates. The fix is scrubbing with a pH-neutral cleaner and picking up the dirty solution while it’s still wet. Cured cement haze that scrubbing won’t shift is the one case for a controlled acid treatment on suitable tiles.
Can I use a steam mop to deep clean floors after renovation?
Not on timber, laminate or vinyl — steam forces moisture into joints and can permanently damage cores and finishes. On glazed tiles steam is safe but removes bonded residue no better than proper scrubbing, so it’s rarely the right tool for post-reno work.
How do I remove paint splatters without scratching the floor?
Soften each speck with a damp cloth for a few minutes, then lift with a plastic scraper at a low angle — never metal blades or abrasive pads. On sealed timber, test any solvent in a hidden corner first; on vinyl, avoid solvents altogether.
Is vinegar safe for cleaning floors after renovation?
No for marble, limestone, terrazzo and cement grout — the acid etches stone and erodes grout. It’s also unnecessary on tiles and vinyl, where a pH-neutral cleaner does the job without risk.
Does MCAAS bring its own floor scrubbing equipment?
Yes. Teams arrive with vacuums, scrubbing machines, the full range of pads and brushes, and surface-appropriate cleaners for tiles, vinyl, timber and stone. Nothing is needed from you except access to the unit, and we walk the floors with you at a final inspection before leaving.