Post-Reno Cleaning: Singapore Condo Essentials
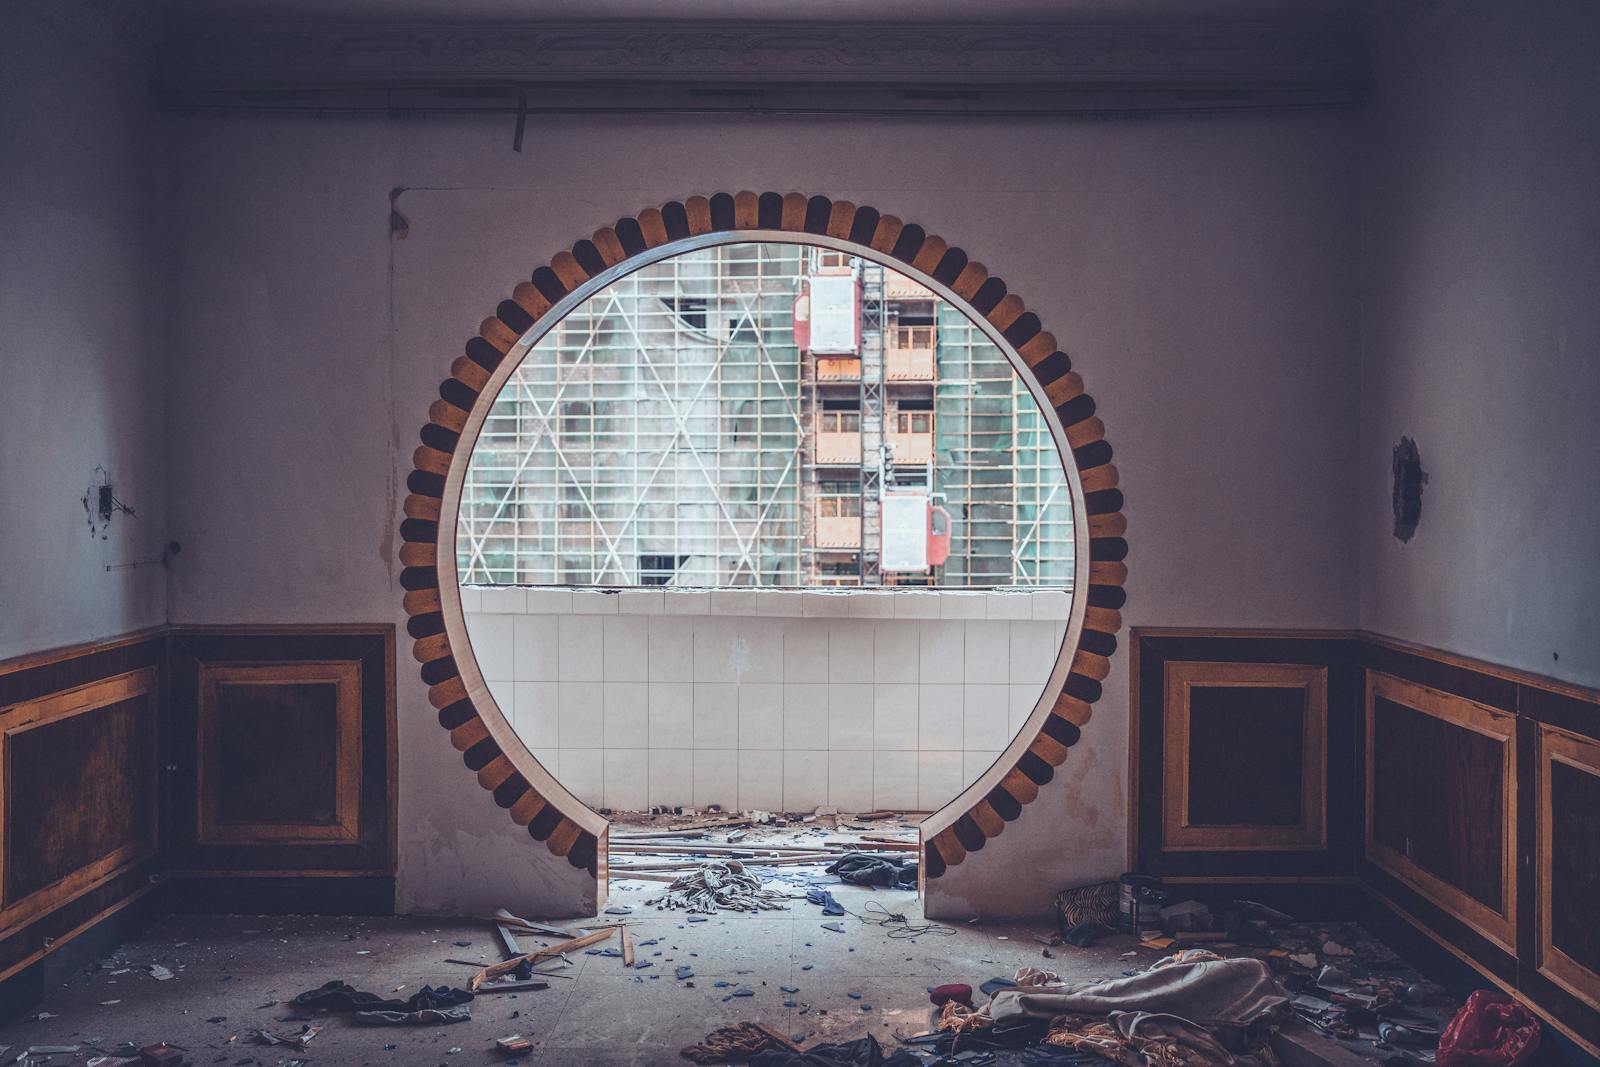
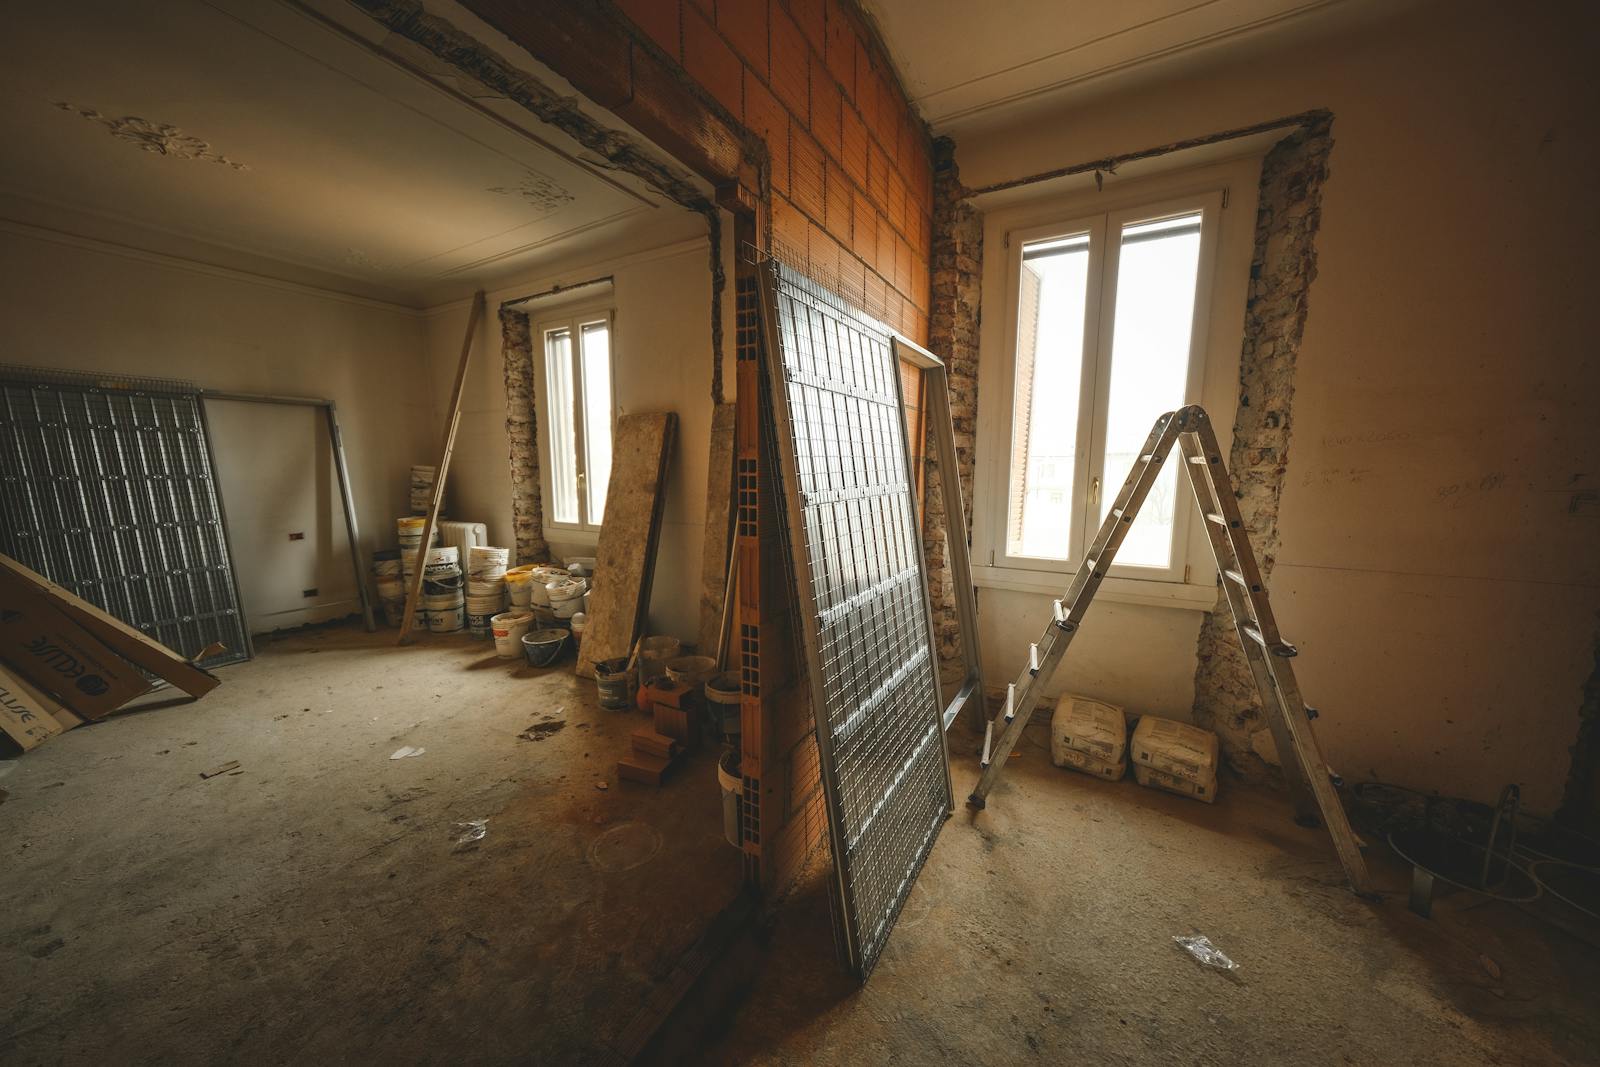
Cleaning a condo after renovation is not the same job as cleaning a landed house or an HDB flat. You are working inside a strata development: management rules on debris removal, shared lift lobbies and corridors you must leave clean, balcony drainage you must not clog, full-height glass several storeys up, and aircon ledges you may not even be allowed to step onto. Get these wrong and the dust is the least of your problems — your renovation deposit is on the line too.
This guide covers the condo-specific side of post-renovation cleaning: what your MCST expects, what to clean in what order, and where it makes sense to hand the job to a professional post-renovation cleaning team instead.
Who this guide is for
Condo owners and tenants in Singapore whose renovation has just wrapped up — especially if your management collected a renovation deposit, your unit has a balcony, full-height windows or an aircon ledge, or the contractor’s “site clearing” left the place swept but far from liveable. Renovating an HDB flat instead? The rules and priorities differ — see our guide to deep cleaning an HDB flat that isn’t move-in ready.
Why condo post-reno cleaning is different
Three things separate a condo clean-up from any other post-renovation job:
- You answer to the management. Most MCSTs collect a renovation deposit and set permit conditions: protection sheets in the lift and lobby, debris removed through designated routes, common areas returned in original condition. The deposit is only refunded after an inspection.
- Some surfaces are shared property. The corridor outside your door, the lift car, the lobby — dust and scuffs your renovation caused there are your responsibility, but the surfaces themselves belong to the development.
- Height changes what is safe to do yourself. Exterior glass, aircon ledges and balcony parapets in a high-rise are not places for a DIY reach-and-stretch. Anything beyond what you can clean from safely inside the unit belongs to trained crews with proper equipment.
The condo post-renovation cleaning checklist
Work top-down and inside-out: ceilings and high fixtures first, floors last, and the common areas once the last debris run is done.
1. Check your renovation permit conditions first
Before touching a mop, re-read the conditions your contractor signed with the management: the debris disposal rules (designated bin or bulk removal — never the common refuse chute), which lift is the designated service lift, when protection sheets may come down, and what the deposit-refund inspection covers. Cleaning in the wrong order — removing lift protection before the last haulage trip, say — creates exactly the damage the deposit exists to cover.
2. Common areas and the lift lobby
Once the final debris load has left the unit:
- Remove protection sheets from the lift car and lobby carefully, folding them inward so trapped grit does not scatter.
- Vacuum and damp-mop the corridor from your unit door to the lift. Fine cement dust travels on every trolley run and settles far beyond your doorway.
- Wipe the corridor walls, skirting, riser doors and your unit’s door frame — dust clings to vertical surfaces at trolley height.
- Photograph the lobby, lift interior and corridor once clean — matching photos make the deposit inspection straightforward.
3. Full-height windows and glass
Condo glazing takes a beating during renovation: paint overspray, plaster splash, silicone smears and adhesive tape residue.
- Soak paint specks with warm soapy water first. If scraping is needed, use a proper glass scraper at a shallow angle on wet glass — never dry, never a utility knife freehand.
- Remove silicone smears with a plastic scraper; solvents can attack window seals and tinting film, so test on a corner first.
- Vacuum window tracks before wiping them. Grit ground along a wet track scratches the anodised frame.
- Clean only what you can reach with both feet on the floor inside the unit. Exterior faces of high-floor glass are a job for professionals — no exceptions.
4. Balconies and balcony drainage
The balcony is where contractors mixed, cut and washed up, so expect cement splatter and fine slurry residue.
- Sweep and vacuum all dry debris first. The cardinal rule: never hose cement dust or slurry towards the scupper drain. Cement sets in drainage pipes, and a choked balcony drain floods your unit — and possibly your neighbour’s below — at the first thunderstorm.
- Clear the scupper opening by hand and confirm water drains freely with a small test pour.
- Scrub cement splatter on balcony tiles with a stiff brush and a neutral cleaner. Stubborn cement haze may need controlled acid washing, which is hazardous work best left to professionals.
- If you have timber or composite decking, vacuum the gaps between planks — cement fines collect there and wash back over the surface with every rain.
5. Aircon ledges and units
Renovation dust is drawn straight into aircon systems the moment you switch them on.
- Wash or replace the fan coil filters in every room before running the units, and wipe the blower barrel and louvres — otherwise the system recirculates fine dust for weeks.
- Dust the condenser and ledge only as far as you can safely reach from inside or through the designated access panel. Stepping onto an aircon ledge is dangerous and prohibited in most developments.
- If the units ran during renovation works, book a proper aircon servicing; a surface wipe will not clear dust already inside the coils.
6. Built-in carpentry, inside and out
New carpentry hides more dust than any other feature in a renovated condo.
- Vacuum inside every cabinet, wardrobe and drawer — sawdust and cement dust settle on shelves, in hinge cups and along drawer runners, and gritty runners wear out fast.
- Wipe interiors with a barely damp microfibre cloth, then dry. Standing moisture inside fresh laminate carcasses can lift edging.
- Leave all doors and drawers open for the first weeks. New laminates, adhesives and plywood off-gas formaldehyde and other VOCs slowly, and sealed cabinets concentrate the fumes. Ventilation helps but works slowly; our guide to formaldehyde and renovation smells explains what actually removes it.
7. The final dust pass and floors
Finish with a full top-down pass: ceiling fans, light fixtures, air vents, walls, switches (dry wipe only), skirting, then floors. Vacuum with a HEPA-filter machine before any wet mopping — mopping first smears cement dust into a film. Expect to repeat the floor pass over several days as fine dust keeps settling.
Common mistakes condo owners make
- Washing debris into balcony or toilet drains. The single most expensive shortcut — cement sets in pipes.
- Removing lift and lobby protection too early, then paying for scratches out of the renovation deposit.
- Running the aircon before cleaning the filters, which spreads fine dust into every room you have already cleaned.
- Using abrasive pads or dry scraping on glass and vitreous surfaces. Cement grit plus pressure equals permanent scratches.
- Closing up new carpentry immediately, trapping off-gassing fumes inside wardrobes and kitchen cabinets.
- Assuming the contractor’s “site clearing” is a clean. It usually means debris removed and floors swept — not degreased, sanitised or dust-free.
When DIY is enough — and when to hire professionals
DIY is realistic if the renovation was small (one bathroom, a carpentry package), the dust is contained to a room or two, and nothing beyond safe indoor reach needs cleaning. A HEPA vacuum, microfibre cloths, a neutral cleaner and a few evenings will get you there.
Hire professionals when any of these apply:
- A full-unit renovation with hacking or tiling — the fine dust load is beyond household equipment.
- High glass, aircon ledges or anything requiring reach beyond a safe indoor position.
- Cement haze or slurry stains that neutral cleaners will not shift.
- A management inspection or handover deadline, or tenants moving in on a fixed date.
MCAAS Solutions is NEA licensed and WSQ course certified, and our teams handle condo handovers regularly — including the corridor and lift lobby detail that management inspections check. We arrive with all equipment and supplies, use PHMB and QAC-based disinfectants, apply an antimicrobial coating to high-contact areas, and run a final inspection with you before we leave.
Book a condo post-renovation clean with MCAAS
Post-renovation cleaning starts from $248, with transparent pricing, no hidden fees and no contracts. WhatsApp us with your condo size and handover date — quotes usually come back within 2 minutes — or call +65 8834 2867 (Mon–Sat, 8:00 AM–5:00 PM). On the day, the team arrives on time with everything needed, works through the unit and affected common areas, and walks you through a final inspection before leaving. We hold a 4.9/5 Google rating from more than 370 reviews.
Frequently Asked Questions
Does my renovation contractor’s cleanup count as post-renovation cleaning?
Usually not. Contractors clear debris and give floors a rough sweep for handover. Fine dust on walls and inside cabinets, glass residue, aircon filters and sanitising are not part of standard site clearing — check your renovation contract’s wording.
Who is responsible for cleaning the lift lobby and corridor after my renovation?
You are, as the unit owner who applied for the renovation permit. The MCST typically holds your deposit until common areas pass inspection, so budget the corridor and lift into your clean-up plan.
Can cleaners reach the outside of my full-height windows and the aircon ledge?
Only within safe limits. Interior faces, frames and tracks are always cleanable; exterior faces and ledges depend on your floor, the building’s access provisions and management rules. Tell us your unit layout when you enquire and we will confirm what can be safely included.
How soon after renovation can I move into my condo?
Once the heavy dust is professionally removed you can move in, but keep ventilating: new carpentry and paint continue to off-gas for an extended period, so run fans, open windows daily and leave cabinet doors open during the first weeks.
What does MCAAS’s condo post-renovation cleaning include?
Full-unit dust removal with HEPA vacuuming, floors, windows and tracks within safe reach, balcony debris and drainage clearing, cabinet interiors, sanitising with PHMB and QAC-based disinfectants, antimicrobial coating on high-contact areas, and a final inspection with you. Pricing starts from $248 depending on unit size and condition.